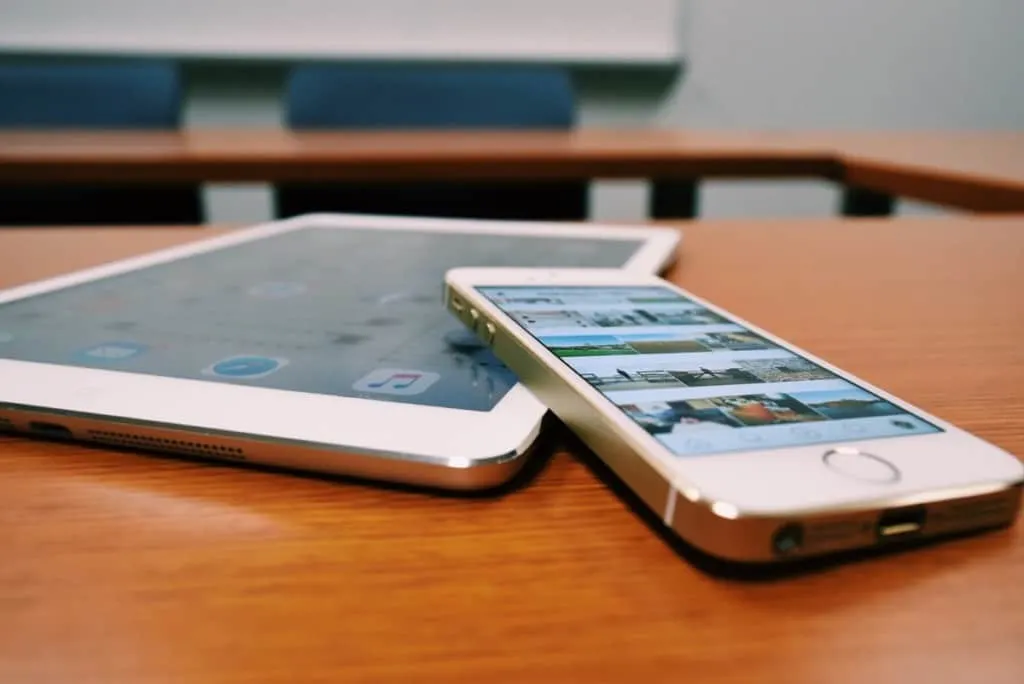
Your trusty iPad or iPhone can transform into a mobile studio with just a few tweaks here and there.
Yes, this sort of hi-tech magic is literally possible nowadays! No, it won’t break your bank and it is fairly simple to do. I did it myself several times for friends and colleagues who wanted high-quality streaming and recording straight to their phones.
So how do you connect an iPhone or iPad to an audio interface?
To connect an audio interface to your iPad or iPhone you need to get a USB to lightning adaptor. Use the receiving USB end of the adapter for your audio interface while hooking up the lightning end to your iPad or iPhone socket, then you can connect anything you want to your audio interface and the sound will appear on your iPad or iPhone.
Take a look at this clever adapter here on Amazon.

Now, that is the short answer to a long question. Do you want to know the full story with details on how it is done? Read on then, because we’re diving right into it.
Why Is An Audio Interface Needed For An iPad or iPhone?
You might be scratching the top of your head at this moment and going “but why is it useful to hook up an audio interface to my iPad or iPhone?” Well, there are several case scenarios where this little trick will definitely save you. I’m about to explain each of the ones I have encountered so far but I’m sure there are more benefits than these.
Garage Band Will Love You (and you’ll love Garage Band)
Garage Band started out being a thing to play with containing prerecorded loops.
It never hurts to hear Steve Jobs talk and John Mayer play, which is what you can see in this video.
What if you wanted to recreate that epic, easy to use, good-sounding approach Garage Band has when used on a laptop with an audio interface on your iPhone or iPad?
Well, Garage Band loves mixing the pre-recorded loops with the soul of your inspiration and it will also open a million new possibilities. Moreover, you can even connect a virtual drum set and play the night away to the looped sounds on a daily basis. Yes, there is a whole new world to explore.
Ultimate Portability
Let me tell you a little story to add some color to this item.
My friend Lucy is an amazing singer and plays many instruments as well. She wanted to make a record with her friends who are proficient musicians so we cut the basic tracks in my studio.
She had drums, bass, guitars, and a piano along with her vocals. What she needed was some ear candy and fancy arrangements to take those skeletons to the next level. We loaded all the tracks onto her iPhone and off she went to visit talented friends and record their parts.
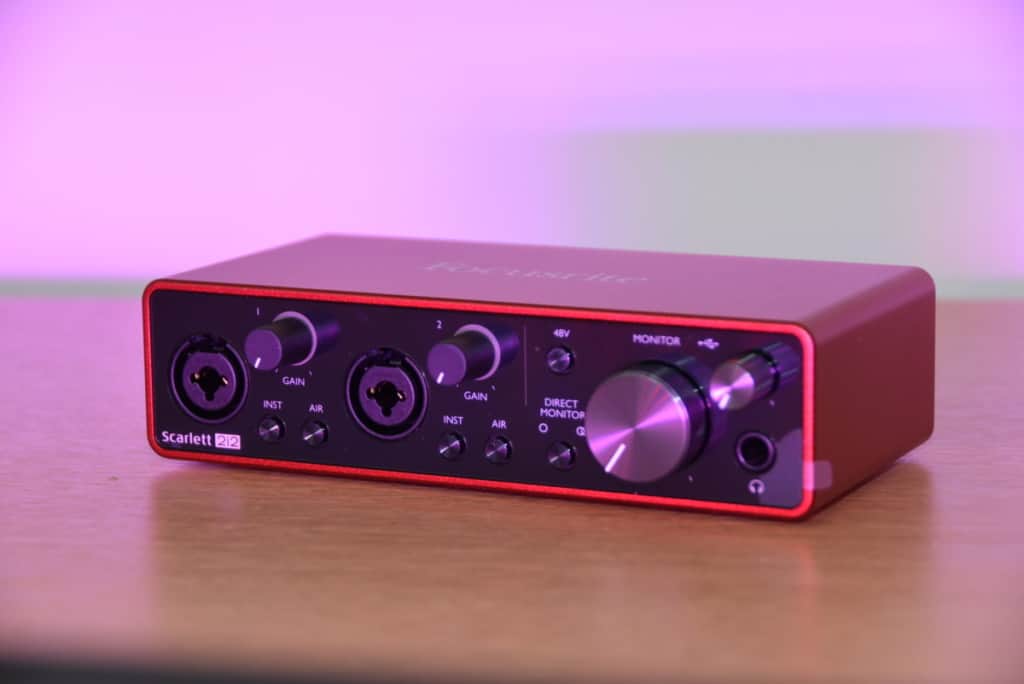
She just took her phone and a Scarlett Solo.

Doing the trick I’ll explain later, she managed to make an amazing record literally on the road. Just picture it for a minute, you can go and record friends’ participation in your brand new album at the comfort of their homes with your own stuff that you just brought in a small backpack (or even your pocket!). Trust me; making music has never been so easy.
Instagram Live!
Instagram Live is one of the main channels of promotion not only for younger acts but also for established bands.
The catch is that you can’t do an Instagram live session from a computer and hence, most people do it with the sound of their cheap iPhone microphone. What if you could sound better than the competition?
Well, with the little trick I will show you in just a few paragraphs, you’ll be able to do that live session connecting as many things as you want to a mixer and all of that to your phone. I know it sounds sci-fi, but it can become a quotidian in no time, believe me.
MIDI Controllers
MIDI controllers are a songwriter’s best friend.
If you are like my friend Lucy who plays many instruments well and sings like a pro you can create the orchestration for your own songs triggering the different instruments through MIDI.
This used to be a big problem with latency and multiple cables but nowadays most MIDI controllers work through a simple USB cable. What if you could just trigger the different instruments in Garage Band and create your own compositions instead of working with pre-recorded loops?
Furthermore, what if you could create a mixed approach and then sing over that? Well, it is going to be very easy following the instructions below.
- I have written a guide that explains exactly what MIDI is and how to get started. You can read it here.
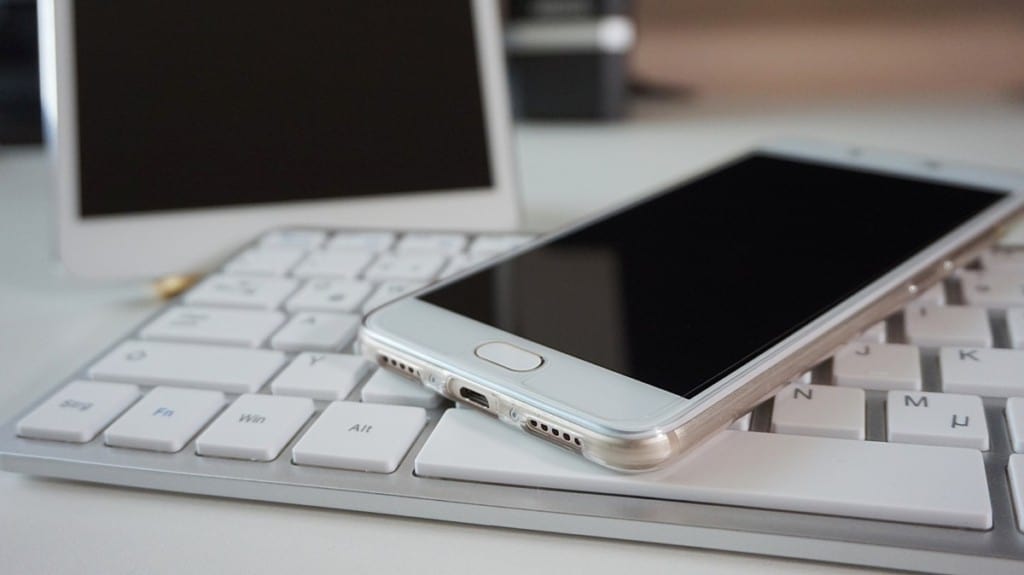

How To Connect An Audio Interface To iPhone or iPad
What you need to do is to transform the data that your audio interface will send to your computer via USB to a format that can be read by your iPad or iPhone.
Because of this what you need is an adapter that converts USB to lightning. You can plug the outlet of your audio interface to the input of the adapter and the lightning cable to the port in your iPhone or iPad and voilà, you are recording on your iPhone.
Choosing Gear Can Be Really Hard!
Home recording requires a whole series of equipment, and it can be difficult to do the research to figure out exactly what to buy depending upon your budget.
I have written a complete guide to exactly which equipment you should get depending on your budget.
Installing Drivers? Not Needed On An Ipad
I know what you’re thinking: “how do I install the drivers of my audio interface on a iPhone?” There’s no need for that. Most of the audio interfaces like the utterly popular Scarlett line from Focusrite are what you call “Class Compliant” which indicates they don’t need any kind of driver installation to work with iOS.
I have written a guide to getting started with audio interfaces. You can read it here.
What Do I Need?
The elements you are going to need are:
· Class-compliant, USB audio interface
· USB to lightning adapter
· USB cable to go from the interface to your adapter
· Your iPhone or iPad’s charger with its cable
These simple elements are all you need to get started.
Let’s take a look at how to solve the problems you might encounter when doing it.
Solving The Power Issue
The first problem you will very likely encounter is the power issue.
The iPhone or iPad is not powerful enough to provide power for the audio interface and hence it might not work. Things get particularly worse if you choose to plug in a condenser microphone (a very wise choice if you ask me) and turn on the phantom power. So, the potential solutions could be:
· Use a powered source – Many mixers double as audio interfaces with a USB connection along with the dual XLR outs. If this is the case and the mixer can be connected to the adapter and also to the electricity, which solves the issue.
· Use the Apple camera adapter – The good thing about this Apple Camera Adapter is that it has a slot for the charger and hence, you will not be draining the power from the hungry iPad but from an actual charger connected to the adapter. In this scenario, you can feel free to turn on that phantom power and engage the velvet element of your sexy voice.
I have written an article that explains phantom power. You can read it here.
· Power bank – For ultimate portability, you can even use a power bank to provide the needed power once you have the adapter described above. This way you will not depend on an electrical outlet and can do the on-the-road thing with absolute freedom.
Check out the selection of power banks here on Amazon.

USB Hub For Multiple Inputs When Recording With iPad and iPhone
What if, let’s say, you want to plug in the audio interface and also the MIDI controller to your iPad?
Well, a powered USB hub can solve that for you and also the power issue described above. Regardless of how much information you put into a single lightning port, it will take it and translate it to the DAW flawlessly.
Actually, some condenser microphones are USB-ready and in this case, you could just go to the HUB to give power to it and then to the adapter to go finally to the iPad or iPod.
Can I Use This Setup With Monitor Speakers?
The answer is absolutely yes.
The good thing about most of the speakers found in studios is that they are active speakers and hence, don’t need to drain power from no other device to work; they just connect to a regular electrical outlet.
Your user interface will have some different output options that you can connect to them. Another great idea is to use headphones.
Whichever is the case, you can now mount a whole home studio based on an iPad and some peripherals. This is a cool video on how it’s done. It is rather long, but at the same time very helpful and interesting.
Final Thoughts On Using An Audio Interface With iPad And iPhone
The desire to make music and record it has been with us humans for at least one century.
The first recordings can be traced all the way to the beginnings of the last century and technology has grown so much and so fast that now it is easier than ever. One of the many good things about it is that you can begin writing songs without much investment and improve your songwriting skills with time and work instead of money.
Combine these modern recording capabilities with channels like YouTube, SoundCloud, Spotify, and such and you can literally remove any and all middlemen between your creativity and your audience.
Don’t forget that this is a golden era for being creative because the technology to make it happen is affordable, accessible, and easy to use. What are you waiting for? There has never been a better time to make music than right now.
Happy (lightning) recording!