
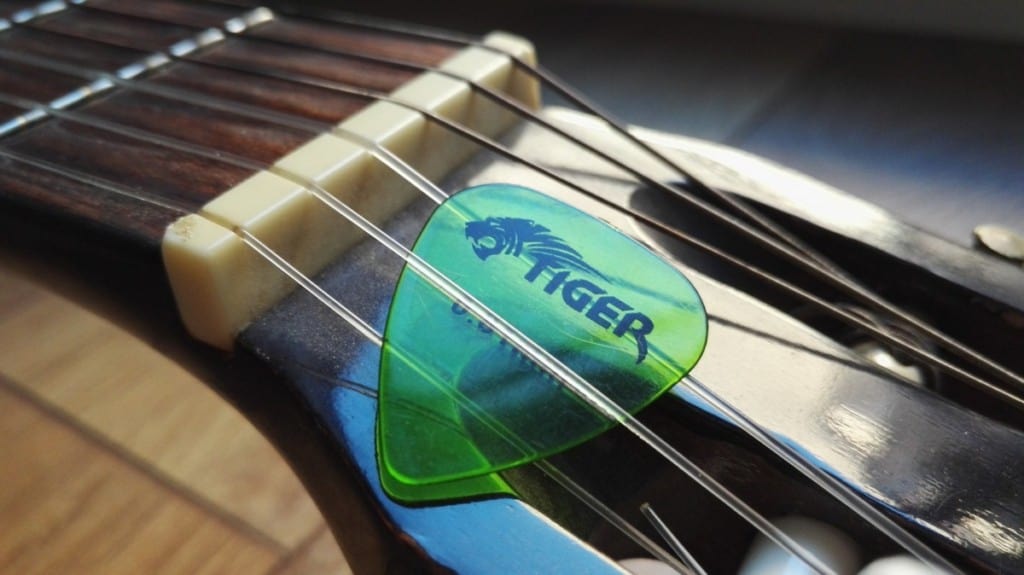
One of the first things we do when we set up our own home recording studio is to try and record our songs on an acoustic guitar.
It’s just like saying that whenever you turn 18 you go to every casino just to get asked for your ID. We’ve all been there. Also, the first thing you realize hearing your guitar recorded is that your technique is not up to the task and a lot of pick noise rises to the surface. I’ve been there so many times I can’t even begin to explain.
When people ask me how to record an acoustic guitar without pick noise I try to work my answer from the more immediate to the long-term.
So how do you record guitar without pick noise?
To record guitar without pick nose firstly, try to use a different pick, a compressor, and controls on the guitar itself. Then try to help with the EQ in the mixer and finally try to teach learn different techniques. In a correct order that would be to use a nylon pick, then hook the guitar to the Dyna Comp, reducing volume and treble, and finally learn “sweep picking”
So, you want to know exactly how to go about those techniques to limit or erase picking noise from your recordings? Read on because this is going to be as detailed as it can possibly be.

How To Record Acoustic Guitar To Avoid Pick Noise?
Let me begin by saying that this is something I deal with in the studio on a daily basis.
Personally, I think that the pick noise is actually part of the guitar’s natural sound and should be added to most recordings, however, there are occasions when you will want to eliminate pick noise.
Sometimes I get very experienced players in my studio, who are monsters of live playing but don’t have too much studio experience and they discover all these little nuances on their playing they didn’t know were there.
Once they are able to cope with the frustration and become willing to listen to people again, I often try several techniques that won’t directly have to do with their playing but will make a difference in the recording.
It is important to say this: don’t feel annoyed, intimidated, embarrassed, or overwhelmed by this; it happens to even to the most experienced players in the world. As much as you have to learn the craft of playing live and the first times you do it scares you to the ankles; studios are the same.
So, let’s take a look at some of the methods to avoid picking up the pick noise with the microphones before moving on to reducing the noise production itself.
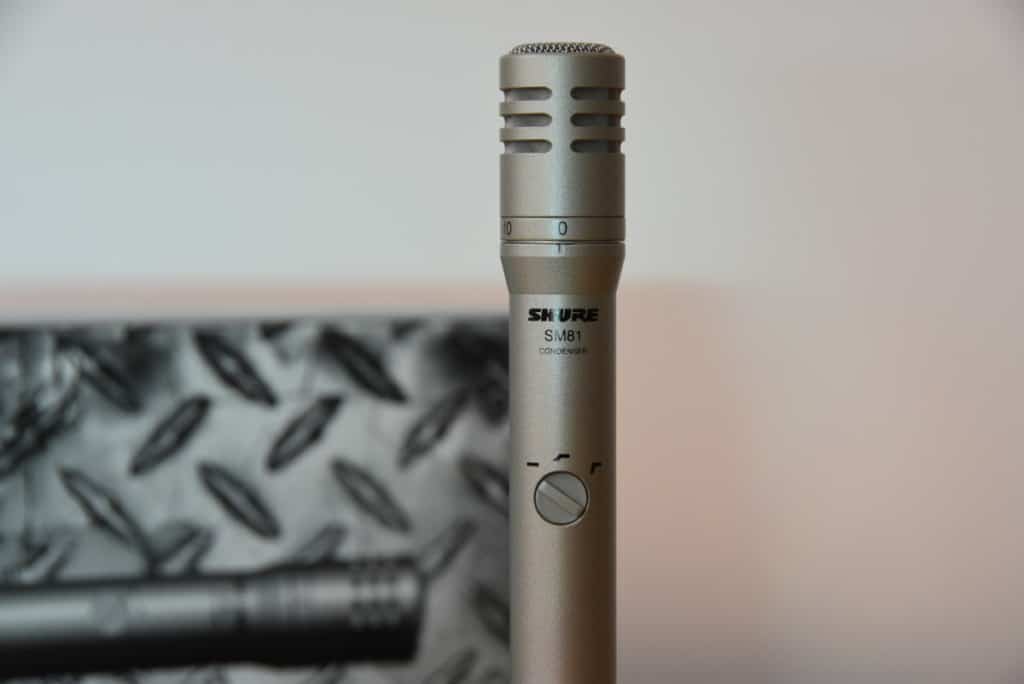
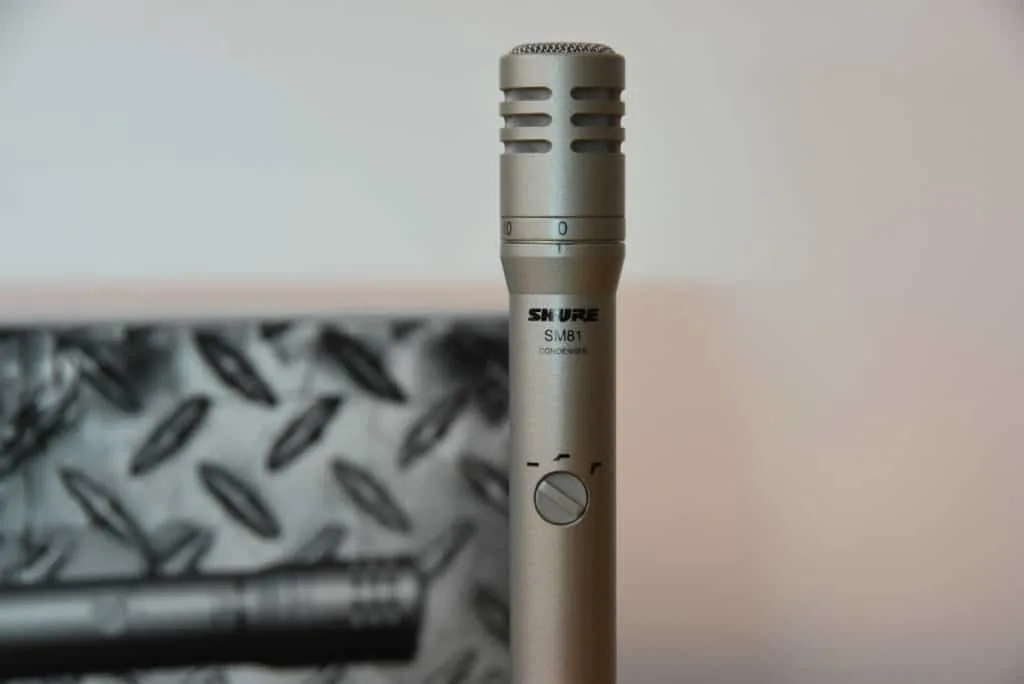
- The incredible Shure SM81 can help you with this process. Check it out here.
Best Microphones Setup For Eliminating Guitar Pick Noise?
Recording acoustics is something I do daily in my studio. It is also the first thing I ever did in the studio when I started (a long time ago). During all these years I was able to try many different techniques until I could find the best approach to do it.
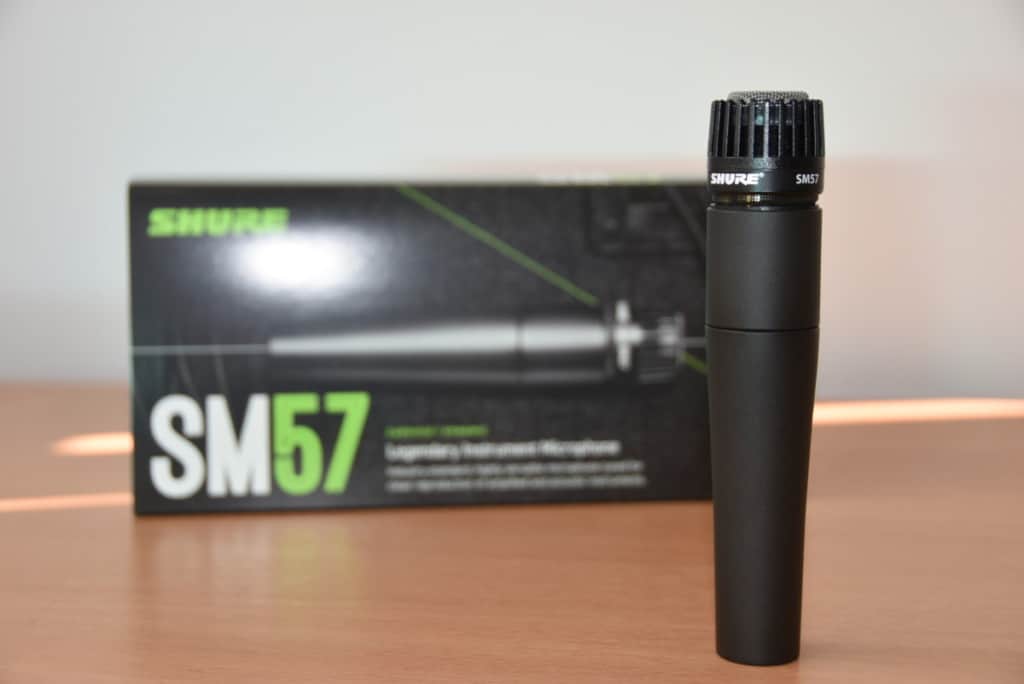
The first step is the microphones. I use a dynamic microphone (Shure SM57 or similar) for the picking hand to avoid pick noise when recording. It is a great microphone to capture the sound of that part of the guitar in general.
If you can put a second microphone to it, I usually go for a condenser (Shure SM81 or similar) pointing straight to the upper part of the neck (the first frets). If you are lucky enough to have two more ports to record I suggest you place a Shure 52 behind the guitar to capture that low end and a regular Omni-figure condenser in the middle of the room to capture the natural acoustics.
This is not a cheap setup if you are using Shure SM series or better.
You can also start with some Shure PG series or Behringer. In case you don’t have this many microphones, I listed them in order of importance, so that’s the order you should follow should you have fewer inputs or microphones than me in my studio.
Check out the Shure SM57 here.

Microphone Positioning For Reducing Guitar Pick Noise
This is generally the second mistake I see the most: If you want to avoid pick noise when recording, just don’t aim the microphone straight to the picking hand. I know it sounds like a no-brainer, but so many people still do this the wrong way.
Microphones should always be at least a foot and a half away from the picking hand and not pointing at the place where you pick.
You can aim your SM57 straight to the soundhole of the guitar because it is a dynamic microphone and it is made for louder noises, not subtle nuances. Besides, placing it one foot and a half away will ensure it gets more air from the soundhole than from the pick.
Finally, the condenser microphone from the neck should be about a foot away because that is a noisy hand as well and these microphones are very sensitive. Plus, you’ll be taking the entire high end from your guitar from that microphone so make sure you don’t have any noise; in those frequencies, they are almost impossible to remove.
Stay Away From The Piezoelectric
Speaking about high frequencies, if your guitar is electro-acoustic, beware of the piezoelectric in it.
Unless it is a very good quality one, I would go straight to the microphones. We’re going to go deep into this system but for now, remember to stay away from just throwing a line to the console; at least not as a beginner, and having all those microphone options.

Pro Tricks That Help You Eliminate Pick Noise
Let me share with you a little knowledge of what I do to get the best acoustic sound with no pick.
· Do overdubs with different picks – This is a great trick. If you do several overdubs with different picks and feel you will have so many of them coming and going that none will cut the mix enough to be audible and hence you won’t hear it in the final result. This naturally works better when you are playing rhythm rather than an arpeggio part.
· Do multiple takes – This is a great trick that takes a little more work, but when you have more tracks than you need you can just slice them up and transform them into a single perfect track. Guitar players are humans, so we tend to do things differently every time we do them. Pick the parts of each take that are the cleanest in terms of picking and make a pick-free take. This only applies when there isn’t an overwhelming cataract of pick noise in every take!
· Tell the player we are just testing – This is one I do a lot. I set everything up to record and tell the player that we are just testing, that he or she can practice with the metronome. I hit record anyways and sometimes they are just as focused but less nervous and the best takes come from moments like those. To achieve a similar result when doing this yourself, just let it record while you play, play the part continuously as many times as you like and finally you’ll see that when you forget about being recorded, it comes more naturally and with less pick attack.
Sometimes pick attack becomes more evident when people are nervous, so try to help them relax (that “people” term included you), just take the pressure out.
No matter how you are reducing pick noise it is essential that your guitar is capable of staying in tune throughout the whole recording session.
How Can Guitar Controls Help Reduce Pick Noise?
Let’s say you have a guitar that is an acoustic-electric and decide it is a great idea to go for that piezoelectric sound. Can the controls in the guitar help you in any possible way? Well, the answer is yes.
· Volume – Rolling the volume of the guitar slightly back can help you reduce the attack of the pick in the final sound. If you usually have it in ten all day long, then try to put it down to six or seven and hear the difference.
· Tone/EQ – The tone knob on a guitar also makes a big difference in the final sound. Pick attack noises are usually noticeable in the higher frequencies and hence, reducing them you can reduce the noise.
Using A Compressor To Reduce Guitar Pick Noise
What a compressor does is very simple. It has a threshold that opens up and closes down cutting out all frequencies and raising the overall volume.
If you are familiar with recording, you might be familiar with a waveform. Well, the waveform has all kinds of peaks because it reflects on the nuances of the person playing or singing. With a compressor in line, you can lift the volume further by cutting away all the peaks.
A compressor can be very harmful to capture dynamics but can also work wonders when it comes to cutting off minor sounds.
All major studios in the world work with state of the art compressors on virtually every channel of the mixing board. Put the compressor in the line of effects in your DAW and play with it until you find a sound that works for you; there are also some presets you can try out as well.
Take a look at this Behringer Composer-Pro LX for a good basic effects processor/compressor
Using A Noise Gate To Remove Pick Noise
A noise gate takes on the principle of compression in the sense that works with a threshold but it doesn’t compress the sound, in change, it allows in only that which is louder than the set threshold.
It might sound complicated but it actually is very easy.
Let me explain it through an analogy. Let’s say you have your guitar signal in a waveform. That waveform includes all noises and sounds. Noises range from the lowest volume possible until the real sound starts.
With no gate, you are letting it all sound through the speakers. This includes picking noises. When you put a noise gate between the guitar and the speakers you are not letting any sounds or noises with a lower volume than your threshold go through.
This might also help you remove picking noises. The only catch is that, just like compression, it might take away the dynamics and the small nuances of your playing.

Let’s Talk EQ
We have briefly been through this but it is important that we talk acoustics and EQ so you know where to cut and where to boost.
· Lows – Lows will give the body to your recording and in guitar brands like Martin, it is the pure soul of the sound. Although pick noises very rarely live in these frequencies it is important that you balance them properly not to overflow your mix with it.
· Mids – Mid frequencies can be divided in two: the mid-low and the mid-high. The first ones are super important because it is what our brain needs to bring those lows to life. Mid-highs, on the other hand, are a little more complex because they will surely pick up your picking noises. Be moderate with the mid highs. In fact, one thing I do often is to wipe those out and put a little bright from the condenser in the neck.
· Highs – Highs on an acoustic are paramount. Bronze strings sound so different from nickel strings that missing the highs on an acoustic is missing the whole point of recording one. The trick here is that the picking noise won’t be on the high highs and that will help you further define the instrument sound. Let those high highs shine through while pushing the mid-lows through and your acoustic will sound huge and bright.
A Little Note On Gain And Picking Noise When Recording
Gain is always gain; coming from whichever source.
Whether it comes from your amplifier, mixing board, or guitar controls it will always further amplify the whole spectrum of sounds. The more gain you have, the more the picking noise will come forward in the final mix.
You should try to avoid this by all means so a good trick is to reduce the gain on your mixing board or audio interface.
Using the EQ in the signal you can make the guitar sound “appear” between other instruments more because nothing steps on its frequency range than because it is louder than everything else.
Try recording with less gain and it will reduce picking noise.
Monitoring Guitar Pick Noise
This is the last of the tips I can give you from the producers side. If you allow the musician to hear him or herself perfectly loud above the rest of the recording, they tend to pick more softly on their instrument.
If you offer poor monitoring, the player will go harder on the instrument to hear him or herself.
- Higher monitoring volumes most of the time equal the reduction of pick noise. If it is yourself, set your own volume louder than usual on monitoring so you can pick softer.
What Guitar Pick Are You Using To Record?
Ok, so that is all I try with guitar players who have problems with their pick noise when they are recording acoustics.
If after all those tricks and help from my side the picking noises are so evident that they will be present in the final mix anyway I take a different approach and go for the player’s pick technique.
Here are some tips that can also help you.
Pick Attack Angles For Best Results When Recording
A very important part of your picking technique (whether you knew this already or not) is the picking angle you use.
First of all, your pick should always go parallel to the string and you should try plucking the strings gently in order to get even more accuracy, a higher economy of movement, and of course, silent execution.
- You can check in this video how to achieve a perfect position to keep the pick in the right angle. Always bear in mind that it is a great way to do all those exercises you never had the patience to do, and come out the other side stronger and a better musician.
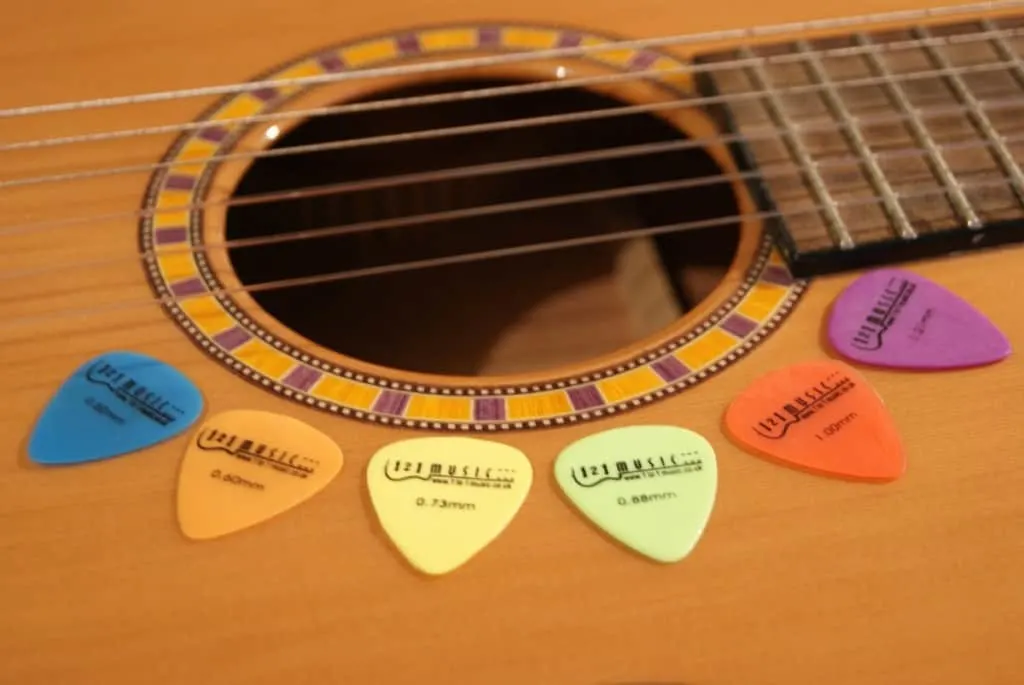
Pick Gauge And Sound In Recording
The pick gauge that you choose will have a drastic effect on the overall sound of the recording.
The myth says that a heavier pick will give you a more percussive sound, but on the other hand, according to my own experience, it also allows you to soften the touch. Since the pick is harder, your hand can be softer.
On the other hand, using a soft pick on heavy strings might take you to dig harder because the element is softer. How do I solve this? Easily, I use soft picks for strumming and hard picks for everything else.
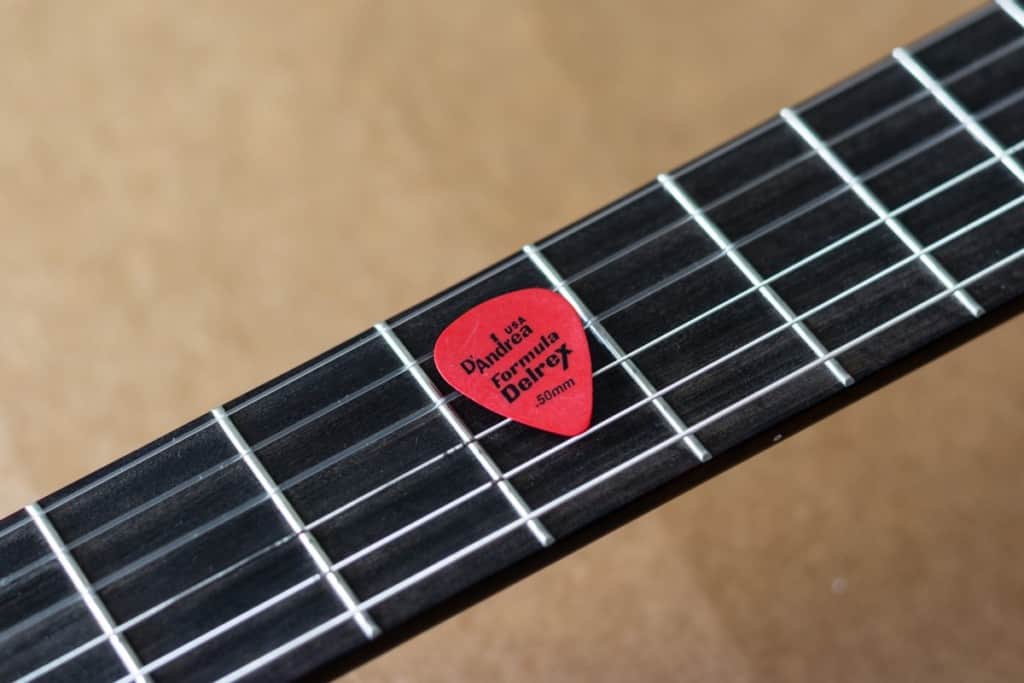
Move On To Nylon Picks
This video explains in detail why the sound of nylon picks works amazingly on reducing the pick noise from the attack.
There are a plethora of brands out there offering nylon picks in many different gauges. You will find that they have a direct effect on your sound and once you go to nylon, you will very likely never look back.
Take a look at this video to gain some extra knowledge.
Try Fingerpicking And Discover A New Universe Of Sound
Let me give you a final piece of advice before concluding this article: try fingerpicking as a substitute for your pick. You can start slow and build your chops from the very bottom. The videos featured below will give you enough tools to get started right away.
I discovered a new world of sound when I discovered fingerpicking.
Since I learned this new skill I have evolved my playing and nowadays I use a hybrid approach to add dynamics to my playing. Try it; it might work for you as well. Otherwise, you can always go back to the only-pick approach.
Conclusion
For people who are in the recording world, recording acoustic guitars represent a high percentage of life behind the knobs.
Learning how to do it right and nailing some great tones can help you make a name for yourself from the beginning and grow your studio reputation.
Make sure you apply these pieces of advice wisely and grow as a player as well as a producer. Always remember that only the sky is the limit.
Happy (pick-noise-free) playing!