
Recording acoustic instruments is all about capturing live sound, performance, emotion, wood, and metal in perfect synchronicity.
You might not have the best microphone or the budget to buy it; is there a way to wisely invest your money and get the best sound out of your productions? Well, I’ve walked that path time and time again with different setups, and I’m here to bring you the best options on an affordable budget.
So, which is the best microphone for recording acoustic instruments?
If you have to choose one microphone for recording acoustic instruments, it should be a large-diaphragm condenser microphone. A large-diaphragm condenser, a small-diaphragm condenser, and a dynamic microphone can also be used for recording acoustic instruments. All three of these microphones will cover the whole frequency spectrum of acoustic instruments and hence you can capture an entire performance in a noiseless, rich way that will allow you to do wonders with it in the mix.
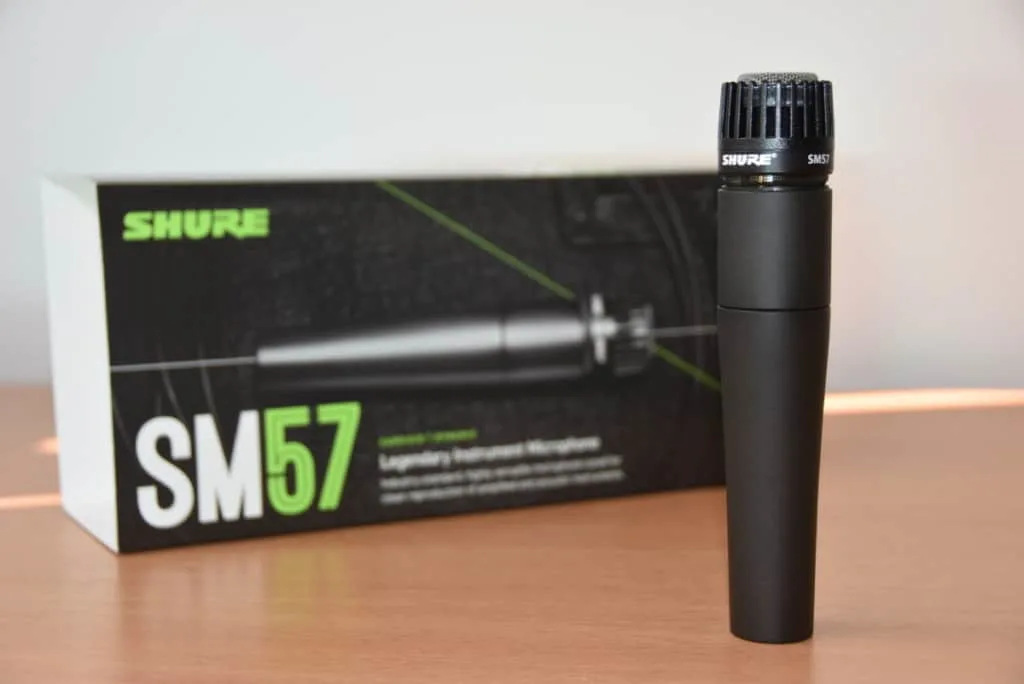
Check out the ever-popular Shure SM57 Microphone here on Amazon.
Read on because we are going to discuss when and how to capture acoustic instruments using microphones anyone can afford.

Defining Expectations When Recording Acoustic Instruments
Whenever you record acoustic instruments you have to ask yourself what you expect from it.
Putting the best microphone in the world to an instrument that is an entry-level machine is not the best bet in my opinion. This is something that I was told when I was taking my first steps in this world: “An expensive microphone over a cheap instrument amplifies flaws”.
This, in acoustic instruments, is even more noticeable and is exactly why you need to define your expectations with the musicians right away.
For example, I have in my studio an acoustic and several digital pianos, and if someone comes to me with a piano-centered tune I often record it on the digital piano and do some takes on the acoustic one just to give the flavor of wood to the resulting sound.
But tracking an instrument that is not top-notch to sit in the middle of your mix is something that will go against high expectations in sound.
Nowadays there are a million emulators that have been recorded with the best microphones in the best studios. They are not as dynamic as the real thing but when the instruments at hand are not top-notch, there is no need for you to go for a difficult acoustic take when you can replace it with a digital version that will sound better.
One thing I do a lot is to define expectations with musicians, talk about references and talk them into a mixed approach in which we blend the original acoustic instrument with a digitally-modeled one.
A good example, in this case, is classical strings. For example, let’s say you want to add a cello for the song and your friend Anna is learning how to play it but came up with a cool melody.
She owns a practice, entry-level cello that will bring a lot of unwanted frequencies to the final mix. I don’t want to break Anna’s heart or yours so what do I do?
Well, I suggest go for a blended approach. We track Anna and make up for the equalization I have to use on her instrument to get rid of those nasty, thin sounds playing it through an emulator as well (she doesn’t have to know about this). Results? Amazing most of the time.
So, the first tip in this regard is to set expectations with the musicians and try to make the most out of what you have. Your friend Anna and her starter-pack cello will not sound like a pro musician on a pro instrument on a John Mayer album just because you put the same microphone on it.
Working For The Project
The second thing I am going to say, and this is especially for the guitar players out there, is that you have to work for the project.
There are certain brands and types of acoustic guitars that have a determinate voicing and are undeniable protagonists (same with pianos). For example, if you track with a Martin mahogany acoustic such as a D15M you’ll get a sound that wants to be the center of the project.
It is loud, clear, with a powerful low end and a very little and musical, crisp high. That sound doesn’t work in a modern pop record that is chopped off and built piece by piece.
So, as a producer what you need is to convince them to work FOR the project instead of doing it vice versa.
Your choice of microphone has to match the overall intended audio for the production. In the case of this example, we can choose a microphone that has more of a mid and mid-high frequency approach to get rid of that extra warmth and resonance we don’t need for that particular project.
What Does The Song Need?
Acoustic instruments are, in most cases, a great addition to the audio of a song.
For example, classic strings can turn anything into a high-end ballad. An acoustic piano played by a professional can be the heart of a soulful vocal performance like Adele’s.
But not every case scenario demands acoustic stuff. I have seen this as a producer time and time again. Even with the best microphone over the best instrument, it is important to understand what an acoustic sound does to a song.
I brought this up because I truly believe it is paramount to understand what role acoustic instruments play in music for listeners.
For this let me illustrate with an example.
Less than a month ago I had this amazing grunge band coming over to make a record in the studio. They had been playing for some time and nailed the core of the songs in about a day. It was a five-song EP. The singer who was also the main songwriter had recently been listening to a lot of Johnny Cash and wanted to play acoustic over all the tracks.
He had perfectly translated every bit of every song to his acoustic and wouldn’t take no for an answer. I tried explaining many times that acoustic instruments have a very particular color that immediately turns any tune adding a chill vibe to it. To make a long story short, they ended up wasting an entire day of tracking just to get the acoustics in and then bury them into the mix because they were killing the record’s angry vibe.
Not every song needs an acoustic instrument. Always, always, always work for the song.
Condenser Microphones For Recording Acoustic
Now that I made it completely clear that there are case scenarios that benefit from acoustic performances and some others that don’t, it is time to address the issue itself: how do we get the most out of those instruments?
Well, the first thing you have to know is that there are some frequencies that you want to capture when recording acoustic instruments and some others that you want to avoid.
Condenser microphones have a definite plus in this terrain, and that is sensitivity. These microphones were created to capture the nuances of sound and hence excel at capturing low-to-mid volume instruments.
Dynamic microphones, on the other hand, excel at capturing high-volume events such as amplifiers, drums, and others. We are going to see later on how to create a blended approach to record an acoustic instrument with multiple microphones but if you only have the chance to record it with one mic, it should always be a condenser.
I have written an article on how to record acoustic guitar without pick noise. You can read it here.

Small Diaphragm Or Big Diaphragm For Recording Acoustic?
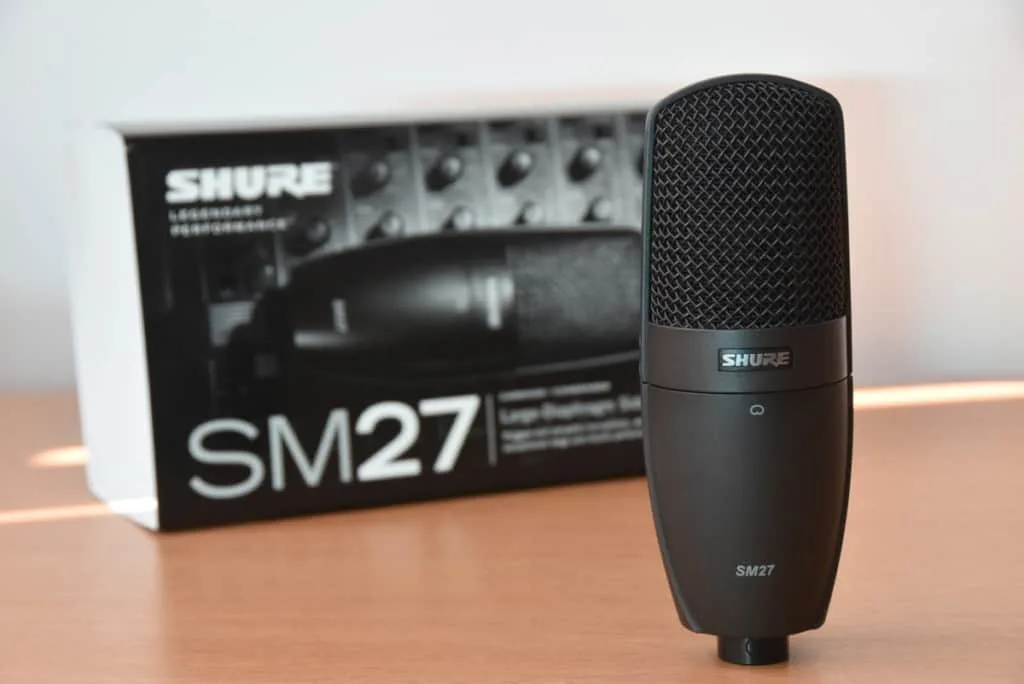
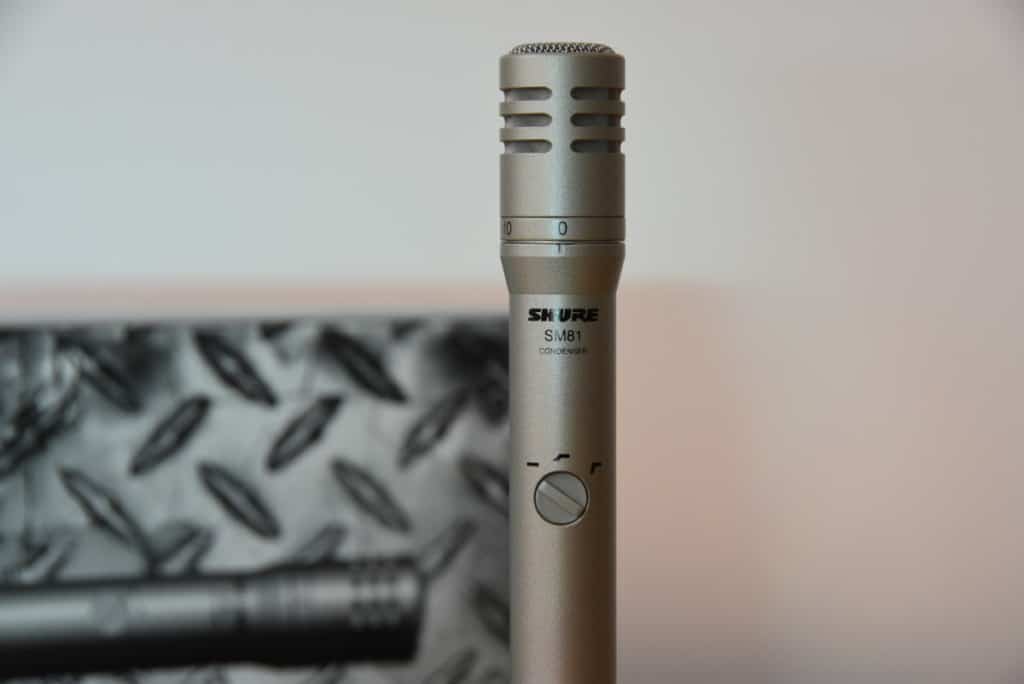
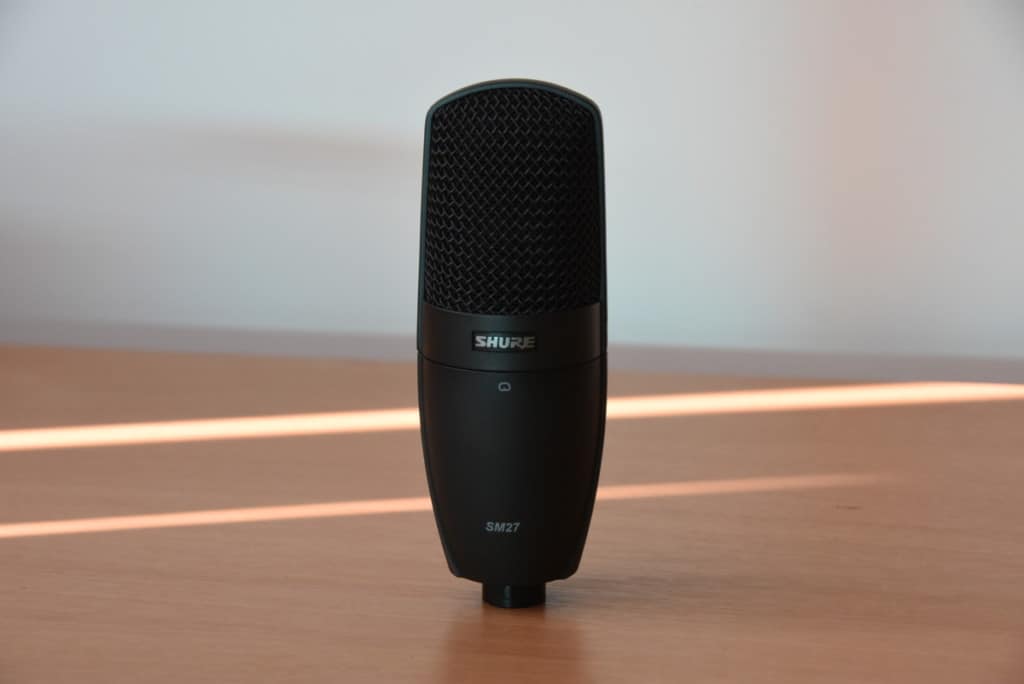
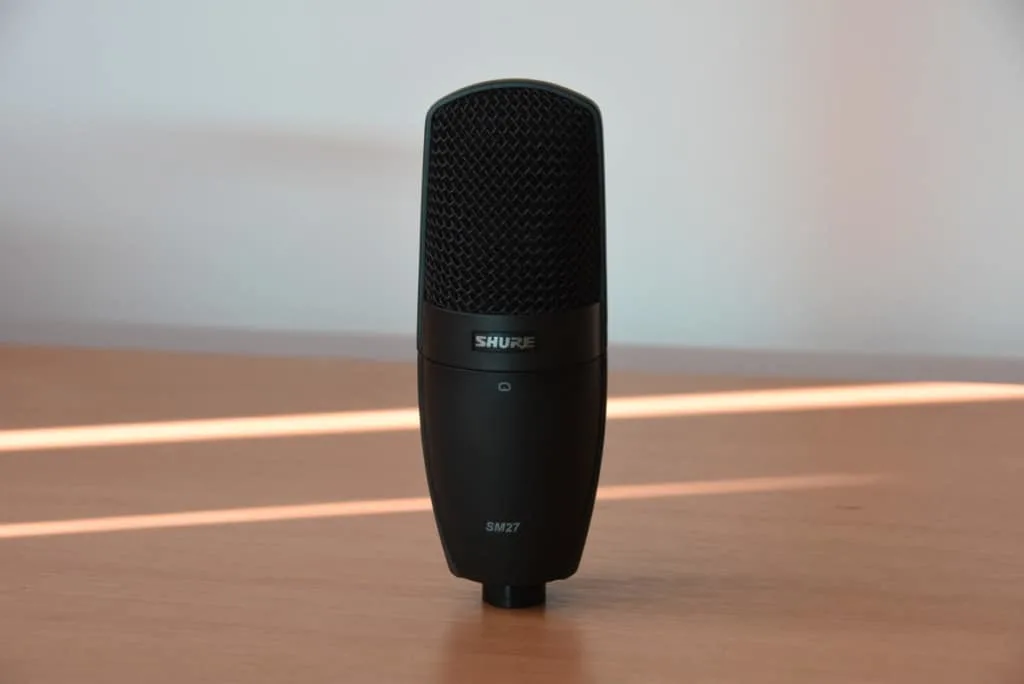
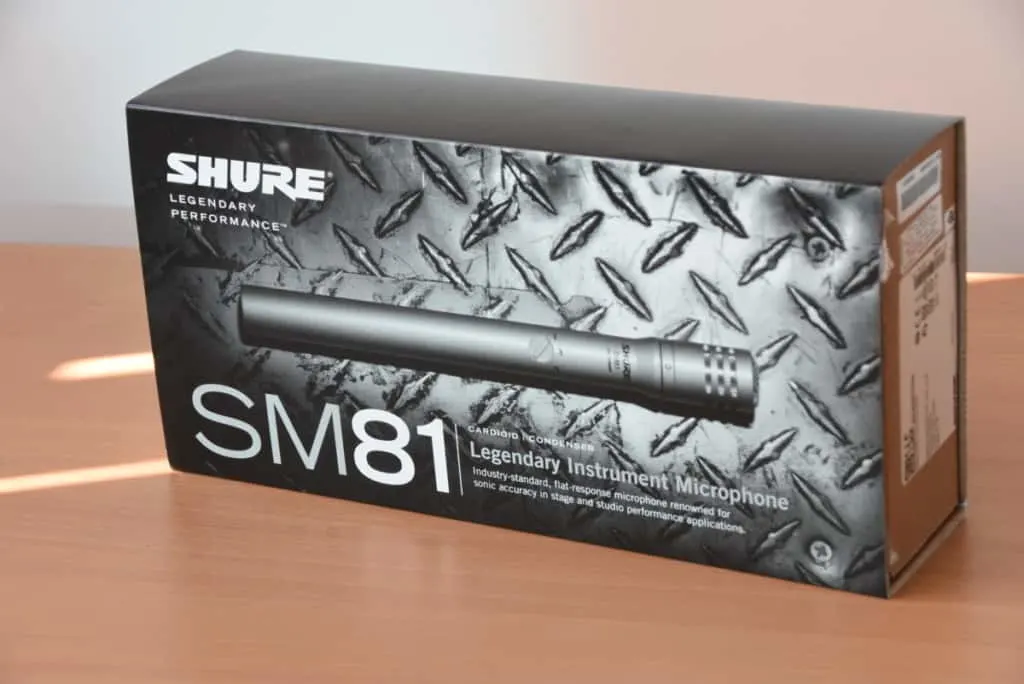
Large and small diaphragm condensers are very different from each other. It is impossible that you visually mistake a Shure SM27 and an SM81, for example.
· Large-diaphragm condensers – This is the quintessential condenser shape we all know and love. Large-diaphragm condensers (regardless of the pattern) are great for capturing vocals and any other highly-textured, low-volume sounds. Large-diaphragm condensers such as the Shure SM27 are also great to capture room sounds if you want to have beautiful natural reverb and add a touch of it to the mix to give more air. These microphones work wonders in getting the high end and the low end of the instrument, not so much the mids.
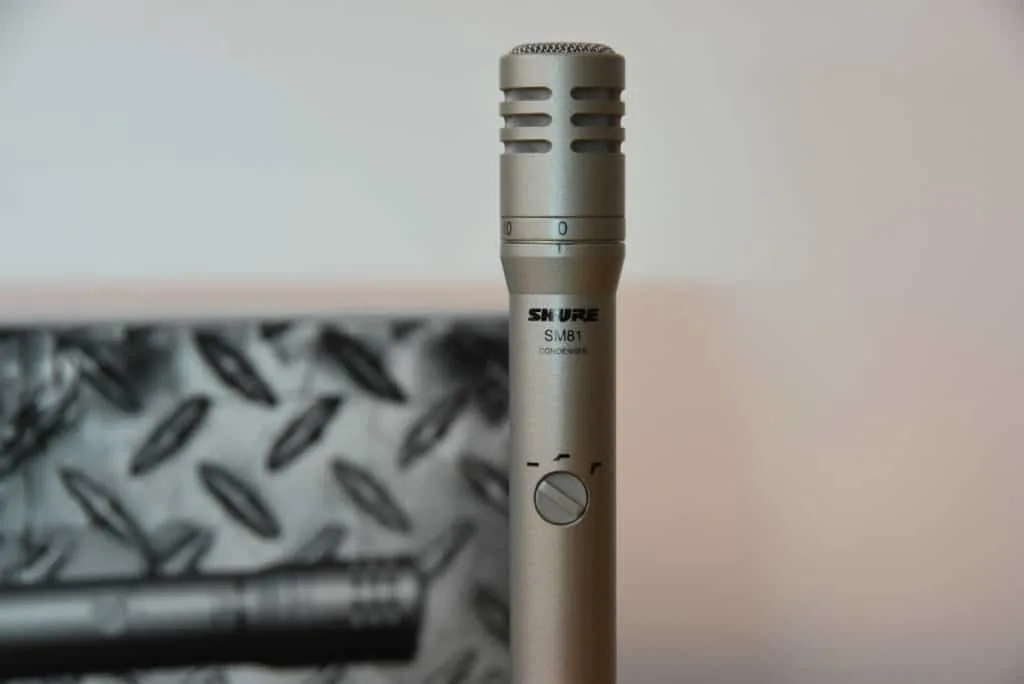
· Small Diaphragm condensers – The biggest difference with a large-diaphragm condenser is that these microphones can be used to capture a small set of frequencies to isolate them and work with them afterward. It is very common to see SM81s capturing, for example, the cymbals of a drum set. In the case of acoustic instruments, the SM81 excels at the mid-high frequencies and hence works wonders in capturing brightness without it being shrill.
As you might have noticed from the descriptions these two types of condensers are not at all opposite; they complement each other.
The importance of capturing the bright high end of bronze strings in an acoustic guitar, the low growl of a cello, or even the percussive sound of a wooden piano need these kinds of microphones. Given the chance, always mix a big diaphragm with a small diaphragm and you’ll have the full palette to work with later on.
Take a look at this great video on how to record acoustic guitar.
Recording Acoustic Multi-Microphone Approach
Acoustic instruments are among the most-benefited instruments when it comes to a multi-microphone approach.
When I say “acoustic instruments” I not only mean acoustic guitars, classic strings, and piano, we can add to this wind instruments and percussion like an acoustic drum kit.
For these scenarios in which an instrument that is acoustic is able to generate extreme amounts of volume (like a snare!), you need to welcome in dynamic microphones that can take those sounds in without any distortion.
Because of this and many more reasons, one of the best microphones to have in a studio is a Shure SM57 or similar.
An SM57 will be able to pick up those powerful mids that you might be missing with the condensers. For example, taking the highs of a violin with an SM81 pointing at the headstock, the ambient sound with a large-diaphragm condenser, and then placing an SM57 close to the F-holes in the body will give you the full spectrum. Once you fix the phase issues you might have with the recorded material, there is plenty to work with in terms of making that sound appear in the final mix.
In my opinion and experience, a multi-mic approach mixing condensers and dynamics is always the best choice. I use some tried and true, easy to get mics like SM52 for loud lows, SM57 for loud mids, SM81 for highs, and a beautiful AKG414 as a big diaphragm condenser for all the rest. If you wished to remain in the Shure realm you can switch to an SM27 which is another great large-diaphragm condenser.
Multi-Source Approach
This is another technique that I really love and it is possible when you have some acoustic-electric instruments you want to work with.
If I have, for example, a cello, I plug it to a bass rig and also mic the acoustic instrument so that then I can mix the two signals. This is especially interesting when you are working with nylon-string instruments such as classical guitars, ukuleles, and such.
You can plug them in and get that pristine piezo sound panned on one side while you let the condenser take on the other side and create this feeling of openness and size that is illusory (ukuleles are very small in every sense of the word) and can fill up a mix.
Always that I have the chance, I add to the microphones the signal of electric acoustic instruments.
DI Or Mic Preamp For Acoustic Recording?
Acoustic instruments with preamps don’t necessarily need to go through another one.
On the other hand, a DI box can help you eliminate all noises and other disturbances. Having an active DI box in your studio is something close to a must. Even the best microphone will pick up noise if isolation is not perfect.
Believe me that pushing a fader up in the mix and finding that the beautiful cello section of the second bridge has a noise and hence you can’t put it upfront is, at least, heartbreaking.
Lately, I’ve been experimenting a lot with a tube preamp from a brand called ART. This valve preamp works as a DI box as well. What it does is very simple and yet amazing: it warms up and gives more level to the signal. A preamp like that can help instruments like a ukulele be more present without picking up any noises.
Check out the ART Preamp range here on Amazon
Preparing For An Acoustic Recording Session
Ok, now that you know which the best microphones to record those acoustic instruments are, let’s take a look at a mini checklist for you to make the most out of the session.
Positioning Acoustic Microphones (And Players)
Positioning the player and the acoustic instrument is paramount for the cleanest result.
Let’s say that your studio is a cube or a rectangle, you need to place the instrument(s) and the player(s) in the exact middle. This will help you avoid asymmetrical reflections of sound against the walls. If your room has acoustic treatment, you can relax a bit with the sound reflections, but still, the best results will surely come from setting things up in the middle of the room.
Best Microphone Positioning For Recording Acoustic Instruments
There are a million techniques for placing microphones on acoustic instruments. The one I am about to share is the one I use the most regardless of having the best microphone or an entry-level one.
· Large-diaphragm condenser – If this is your only microphone aim it between the 10th and 14th fret of your guitar; the middle of the cello, the center part of a violin, etc. Aim the capsule to the center of the instrument and put it fairly close in order to avoid it picking up other noises.
· Small diaphragm condenser – If you can add this one up to the previous one, aim it at the playing hand, closer to the headstock. If it is an acoustic guitar, aim it to the first frets. This way you’ll capture all the brightness of the tone.
· Dynamic microphone – Dynamic microphones center on the mids of the sound and they come to complete the palette. Position the dynamic mic closer to the body of the instruments. In the case of an acoustic guitar, it can be the body (soundhole), classic acoustic instruments work great with an SM57 aiming at the F-holes, for example.
· Omni pattern for the room – Condenser microphones with Omni-patterns (360-degree) such as this AKG P420 are able to capture what happens in the room in all directions. If you place it at mid-height in the center of the room it can be another great sound source for the mix.
These items are in order. In my own home studio, I use them all but if you happen not to have all of those microphones (or inputs) just use what you have in that order of importance.

Final Words
Just like everything in a song, acoustic instruments captured with the right technique and the best microphone can make a big difference. That difference can be an epic win or an epic fail and the end result will have more to do with the song arrangement than the instrument itself.
That being said, if the song really needs that acoustic intervention and the recording is faulty, you’re not going to be able to compress it and make it loud and proud; which might end up killing the song’s vibe (and maybe your reputation too).
First, determine if the song needs it, then follow the above-mentioned techniques and make that instrument or instruments sound their absolute best.
A well-timed, perfectly-captured string section can take a regular song to a whole new level. On the other hand, acoustic guitars over a face-melting grunge riff can kill the rocking vibe immediately and forever.
I always say grow your ear before your gear.
Take a look at my article on condenser microphones. You can read it here!
Experiment a lot, mix consciously, and make magic happen!
Happy (acoustic) recording!