
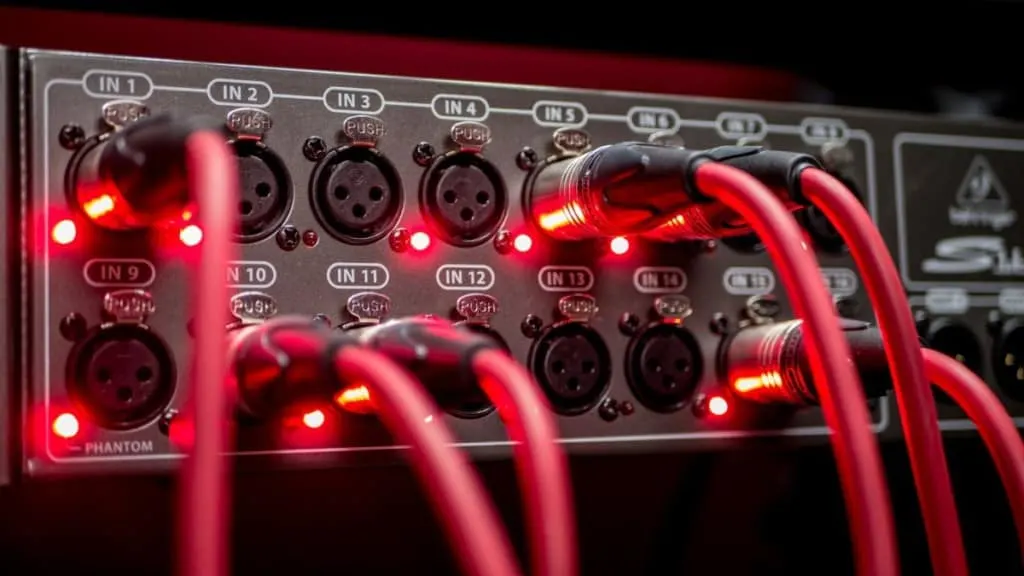
XLR cables are the industry standard when using microphones for recording or live audio. These cables are known for their reliability and their ability to span long distances without sacrificing quality.
Can you daisy chain XLR cables?
Joining multiple XLR cables (daisy-chaining) is possible. It provides a solution to not having long enough XLR cables to reach a required distance, from a microphone to a sound source, or another device. Daisy-chaining XLR cables shouldn’t have too much of an impact on sound quality on distances less than 50 meters.
There are, however, some other factors that need to be considered.
Generally speaking, the fewer XLR cables you daisy chain together, the better. The more connection points there are in a cable run, the more chance there is of something going wrong.
The problems that can occur include unwanted distortion, interference, or disconnections. In this article, you will find all of the information you need on daisy chaining XLR cables.
Check out these high-quality Mogami XLR cables here on Amazon.

How To Successfully Daisy Chain XLR Cables
XLR cables boast many positive qualities that make them an integral part of any recording of the live sound setup. Firstly, they are balanced and therefore can carry the audio signal from a microphone to a mixer, interface, or another device without any noise issues occurring.
They are also capable of stretching long distances without compromising on quality.
Some of the longest XLR cables reach up to 100ft. However, if you only have shorter cables available and you need them to reach further than their singular length, a process known as daisy-chaining offers a quick and easy solution.
Another standout quality of XLR cables is that you don’t require an external adapter to link them together.
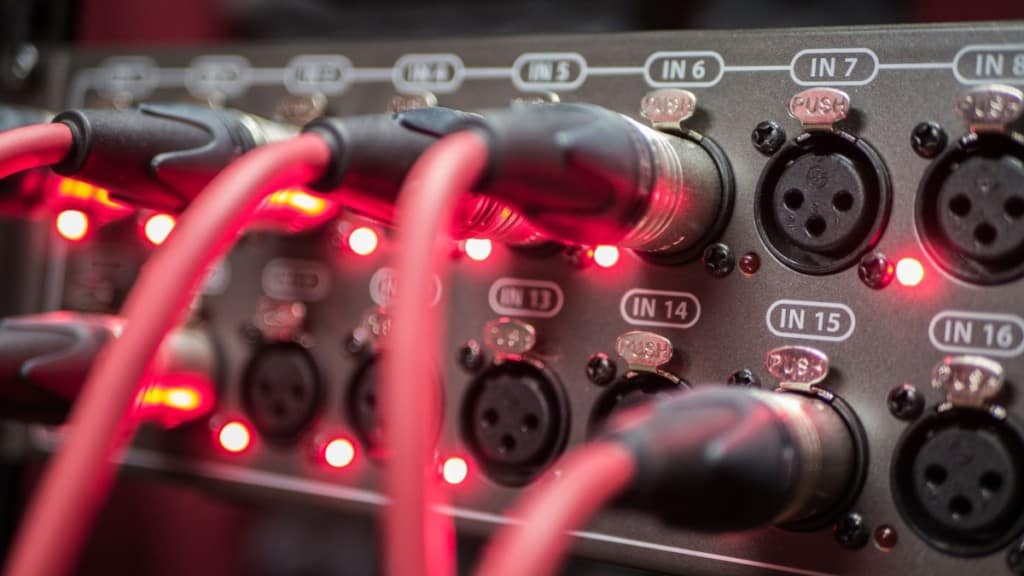
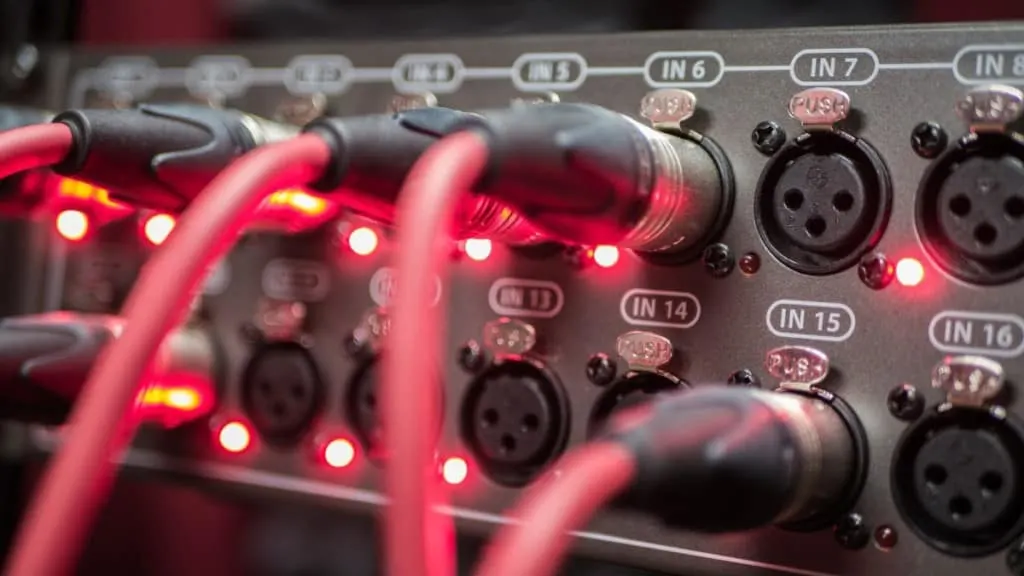
Standard XLR cables have a female connector on one end, and a male equivalent on the other end. The male connector is usually plugged into an interface or mixer, while the female end goes into the microphone.
This simple connection setup makes daisy chaining XLR cables possible without an adapter. All you need to do is connect the female end of one cable to the male end of the other, and you have essentially created a longer XLR cable that still has both connector types on either end.
For example, let’s say you have a microphone on a stand and wish to record a kick drum which is situated at one end of a recording studio.
The distance from your interface to the drum kit is 19ft, but you only have 10ft XLR cables at your disposal. Instead of rushing off to the local music store and spending money on a 20ft XLR cable, you can daisy chain two of your 10ft cables to solve the problem.
You would need to connect the female end of one XLR cable to your microphone, as you normally would. Then, a separate XLR cable would need to be connected to your interface at the male end.
- To chain the cables together and secure the connection, you simply need to plug the spare male end from the XLR that is hooked up to the microphone into the spare female end that is hooked up to the interface.
This would result in the audio signal passing through both XLR cables, from the interface to the microphone, and vice versa. With such a short distance and using only two cables in your daisy chain, there is very little risk of any interference or other undesirable results occurring.
The example I have just given is the most basic form of daisy chaining XLR cables.
In some cases, it may be necessary to link extensive numbers of cables to reach the required distance. For example, an outdoor gig at a music festival may require the cables to stretch 50 meters from the stage to the sound desk.
Longer daisy chains are not as straight forward as shorter ones. In the following paragraphs, I will outline some of the potential issues that can occur when daisy chaining XLR cables in this manner, and how to avoid them.
Check out this excellent video from PS Audio that discussed whether XLR cables sound different!
A Step By Step Summary Of How To Daisy Chain Two XLR Cables:
- Check that the combined length of the two cables is adequate for your required distance
- Take one XLR cable and connect the male end to the interface, mixer, or preamp
- Take the second XLR cable and connect the female end to the microphone
- Connect the spare male & female connectors from the separate cables
Potential Issues With Daisy-Chaining XLR Cables
We’ve established that you can easily daisy chain XLR cables without negative results occurring.
However, it’s worth noting that the more connection points that are present in a single cable run, the more likely things are to go wrong. Cables could disconnect from one another causing the signal path to be broken, there could be electrical noise, distortion may occur, and interference is also a possibility.
The majority of microphone cables have an XLR shell, which is wired to pin 1.
This allows the shell to form part of the screen. This is necessary because the core signal wires do not have a cable shield inside the shell. Therefore, connecting the shell to pin 1 minimizes the risk of interference.
The issue with this is that if the shell of the XLR comes into contact with an earthed object, the majority of times they will create an unintentional ground loop. Ground loops are notorious for producing all kinds of buzzing and hum which is undesirable for recordings or live performances.
So when you daisy chain multiple XLR cables, if there is unwanted electronic noise present in your signal, the first thing to check is whether the XLR is touching an earthed object. By earth, I simply mean any object which is directly in contact with the ground through a conductive material.
Another concern to watch out for when daisy chaining XLRs, are damaged cables.
It’s impossible to avoid wear and tear in a recording studio or on stage. No matter how much care you take when using cables, at some point they will get trodden on, tugged, tangled, or tripped over.
The XLR connector is not immune from damage; in fact, they can be quite easily broken even if it doesn’t appear to be the case judging by appearance. If you daisy chain multiple XLR cables and there is a problem with the signal, the downside is that you will have to check each cable individually to diagnose the problem.
I have personally found Mogami XLR cables to be very reliable and stand the test of time.
Ensuring that the cables are coiled and packed away correctly after use is an effective way to improve their longevity.
Using tape to keep them out of the way is also a good idea, as the more they are trampled on the more they are at risk of not carrying the signal properly, and thus, breaking the daisy chain.
I’m often asked why are XLR cables are so expensive? check out my article on this subject.
Balanced Cables & Daisy Chains
Indeed, the presence of both male and female connectors on an XLR cable is the attribute that makes it possible to daisy chain them. A TS jack cable, for example, is single-ended and therefore would require an adaptor to be linked to another cable of the same type.
- Another reason that you can successfully daisy chain XLR cables is that they are balanced.
This makes them better at handling noise, preventing interference, and keeping the audio signal as clean as possible. Guitar cables are unbalanced, so even if you did manage to find an adaptor to chain them together, there would be an increased risk of noise issues.
XLR cables are balanced because they contain a trio of wires within the plastic casing.
These consist of a pair of signal wires, and a single ground wire. The role of the signal wires is to pass an identical audio signal though. The ground wire operates in the same way it would inside an unbalanced cable, providing shielding to the signal wires and minimizing any electrical interference.
Because XLR cables are balanced, creating long daisy chains is unlikely to pose a threat to their signal quality.
They are designed to keep unwanted noise to a minimum, and therefore the added signal from using long chains is a situation that they are well equipped to deal with.
The table below shows popular types of audio cables, whether they are balanced or unbalanced, and what they are predominantly used for.
| Cable Type | Balanced/Unbalanced | Purposes |
| XLR | Balanced | Microphones, monitors |
| TRS | Balanced | Headphones |
| TS | Unbalanced | Guitars, line-in instruments |
| RCA | Unbalanced | Tape and CD inputs |
| speakON | Balanced | PA speakers |
Related Questions On Dasiy Chaining XLR Cables
Are USB connectors balanced?
Yes, USB connectors are balanced. If you analyze the connector, you will see that it has four lines. This indicates it offers a differential signal so that the receiver measures the voltage and is therefore balanced.
Can you use guitar cables for studio monitors?
The problem with using guitar cables to connect studio monitors to an interface or mixer is that they are not balanced. Although they will still play the audio, the connection will be interrupted by electrical noise.
Check out my article on this subject here.
I hope this article helps explain how to daisy-chain your XLR cables, for any cables longer than 50 meters you should consider an XLR snake.