
OBS is an accessible program designed to simplify the process of live streaming audio and video content. Although it boasts a wide range of inbuilt processing and editing tools, the functionality of OBS is improved when it is used with an audio mixer.
How to connect an audio mixer to OBS
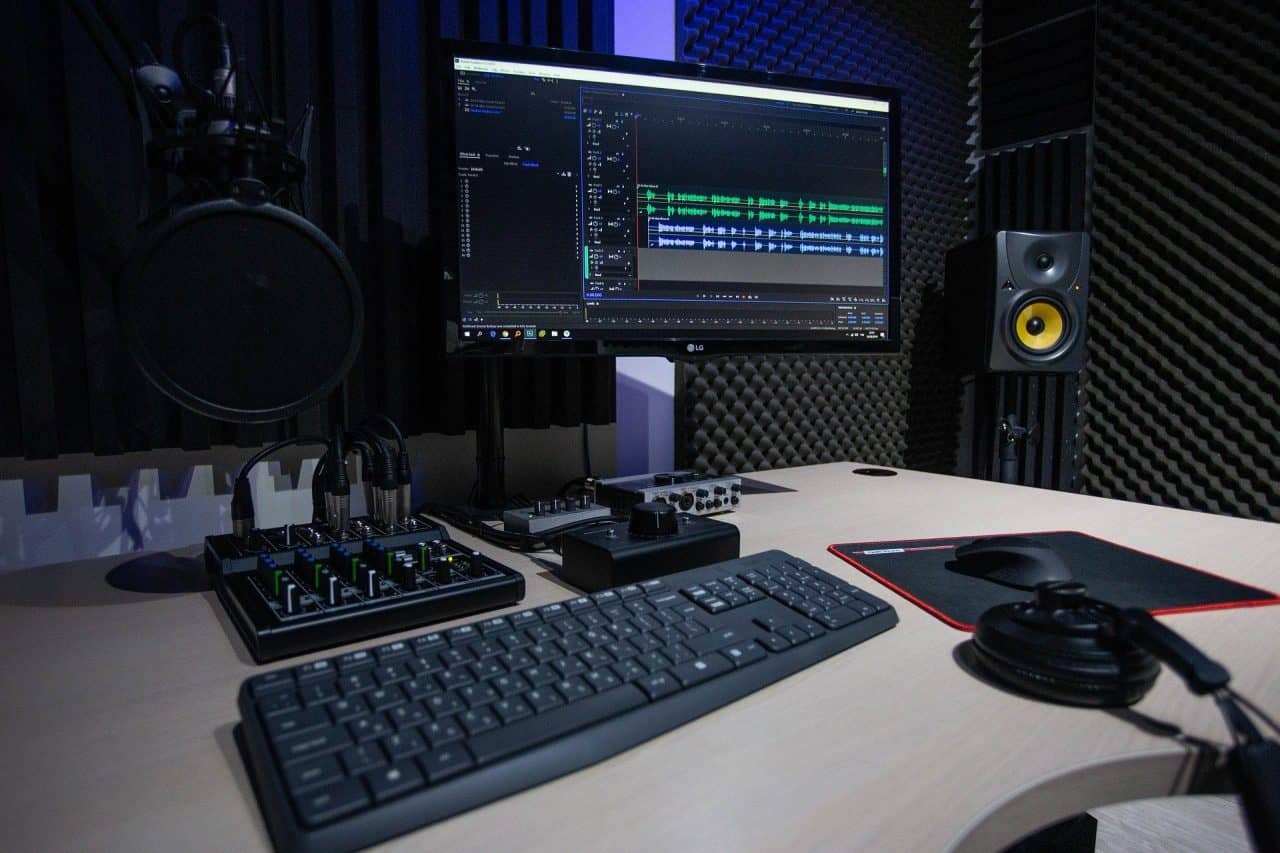
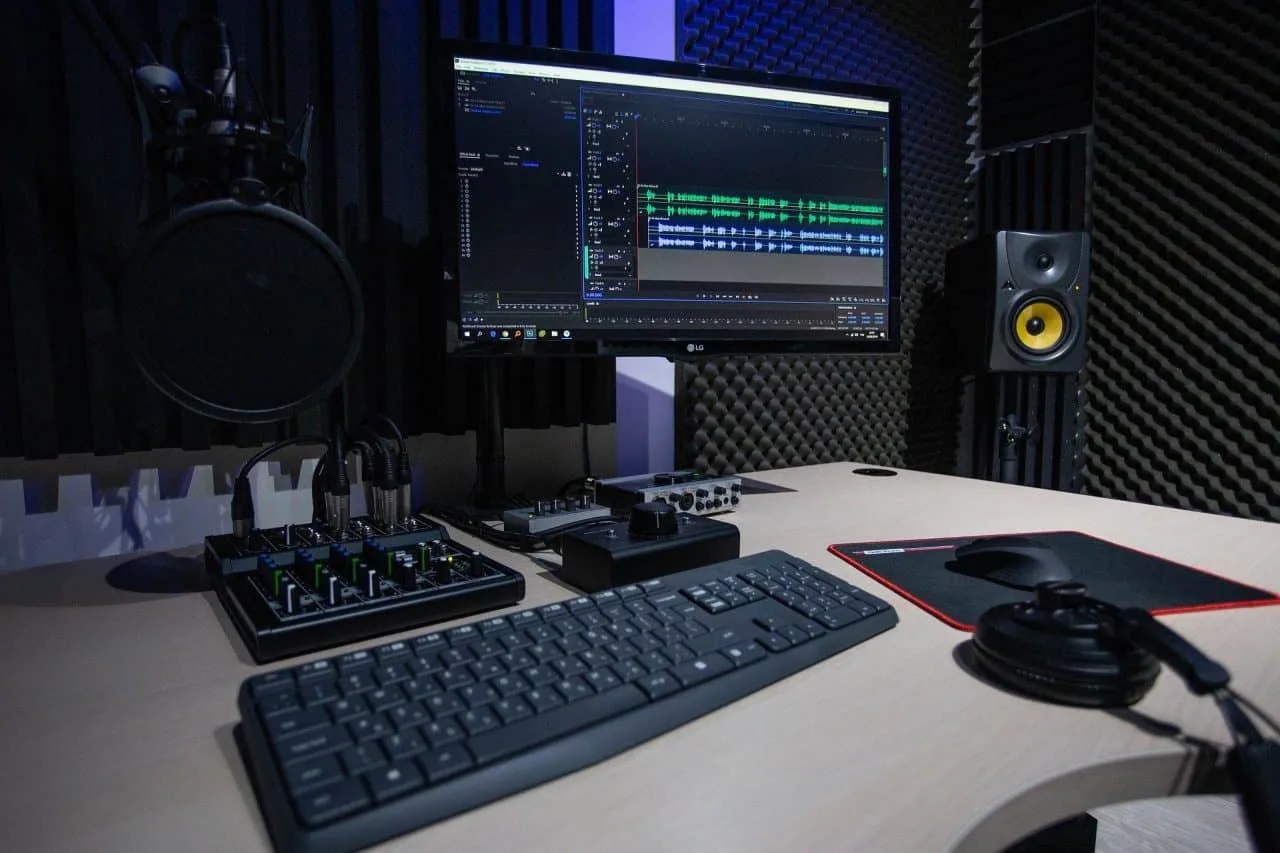
The vast majority of modern audio mixers use USB connectivity, which means they can be simply connected to a computer or laptop and selected as the audio input device in OBS.
Connecting analog mixers and vintage models to OBS is likely to be a little more complex than their modern USB counterparts. Thankfully, providing you have the correct cables at your disposal, it should be possible to hook up any type of audio mixer to OBS so that you can use it to benefit your live streaming and audio recordings.
In this guide, we’ll dive into the various methods you can use to achieve this.
USB Audio Mixers & OBS
Before connecting your audio mixer to OBS, the first thing you’ll need to do is determine which type of connection the device uses. If the mixer is a USB-friendly device, follow the instructions in this section. If it doesn’t facilitate a USB connection, you’ll find the relevant instructions in a later section.
USB connectivity is featured on almost all modern mixers and audio interfaces unless they are specifically designed for use with Mac devices. In that case, they may use a FireWire connection instead.
Assuming that your audio mixer does have USB connectivity, the first thing you’ll need to do is connect the USB cable to your computer or laptop’s port. At this stage, the power cable should also be plugged into the audio mixer so that it can be turned on.
USB mixers may require you to download certain drivers before they can be used in OBS. You can check whether you need to do this by simply searching the make and model of your mixer followed by “Windows drivers” or “Mac drivers”.
If your search reveals that you do indeed require some drivers to use the mixer, download the relevant files and install them on your computer or laptop. If you don’t have the necessary drivers, the audio mixer may still be recognized by your device but it probably won’t function to its fullest capacity.
Once your audio mixer is connected to your computer or laptop and the relevant drivers have been successfully installed on the device, you’re ready to connect your microphone and other audio cables.
If you’re hoping to use your audio mixer for live streaming in OBS, you’ll need to connect a microphone to one of the inputs on the mixer. To do this, you’ll need to use a balanced cable which is most likely to have a male and female XLR connector, or a female XLR with a ¼ inch jack connector on the other side.
Dynamic microphones, like the Shure SM58 or SM57, don’t require phantom power to be successfully used with your audio mixer and OBS. On the other hand, condenser mics will require you to turn on the +48v phantom power switch on your audio mixer.
Next, you’ll need to check that the audio signal from the microphone is being received by the mixer. You can do this by turning the gain upon the input that the mic is plugged into and talking into the capsule, monitoring the audio meter on the mixer. If the meter is read, this means you need to reduce the gain until it remains green at all times.
Identifying Your Mixer in OBS
Now that you’ve taken care of the physical connection between your USB audio mixer and OBS, the next step is to check that the device and software are linked correctly on your computer or laptop.
This requires you to open up the sound settings on your PC or Mac and check which device is being used as the primary audio device for both playback and recording.
If your audio mixer is not selected as the primary device for both playback and recording, adjust the settings so that it is being used for both. This will allow you to use the mixer within OBS when we come to connecting the device to the program.
It’s worth noting that even though you have a microphone connected to the input of your audio mixer, the mixer itself will come up as a possible recording device within your computer’s settings, so don’t worry if you can’t see the specific name of your mic.
Next, you’ll need to open OBS on your computer or laptop and follow this process.
- In the main window which pops up when OBS is opened, click the ‘settings’ tab
- Select ‘audio’ from the drop-down menu in the settings window
- Ensure that the audio mixer is selected as the ‘Desktop Audio Device’
- Check that it is also selected as the ‘Mic/Auxilary Audio Device’
Now that your USB mixer is connected to OBS, you can click the ‘Preview Scene’ button in the main window. If you have a camera connected, this will present a preview of the video footage on your screen and also the audio from the mixer.
You can now talk into your microphone and check that the levels are set up correctly within OBS. The visual audio meter signifies if the signal is too loud by turning red, and you can adjust the gain and level settings accordingly until you reach an appropriate level.
Your USB audio mixer should now be connected to OBS and ready to use for live streaming or recording content. Check that you’ve followed each of the steps I’ve mentioned if you find that the device isn’t functioning properly.
Non-USB (Analog) Audio Mixers and OBS
Although most modern audio mixers include USB connectivity, analog models or older devices may not facilitate this form of connection. If this is the case, it should still be possible to connect the audio mixer to OBS – you’ll just need to take some additional measures.
Firstly, you’ll need to check that you have the necessary cables required to connect the mixer to OBS. Here’s what you’ll need:
RCA cables either have three colored connectors (red, white, and yellow) or only two (red and white). You can use either of these types of RCA cable, but you won’t need to use the yellow connector.
The other end of the cable must be either a ¼ inch jack connector or a 3.5mm mini-jack connector so that it can be plugged into the relevant inputs or outputs on your computer. This video illustrates how to form these connections correctly.
On your audio mixer, you will find two types of connectors. These will be labeled something along the lines of:
- Line
- Main Mix
Take the first of your RCA cables and plug the red and white connectors into the matching plugs on the line input. Then, do the same with the Main Mix, ensuring that the colors of the connectors match with those on the audio mixer.
The other end of the cable which is connected to the line output on the mixer should be plugged into your computer or laptop’s headphone port. The cable which is plugged into the main mix output on the mixer should be connected to the microphone input on your computer.
Next, you’ll need to open up the audio and sound settings on your computer. Whereas in the previous example the device would recognize the USB audio mixer and allow you to select it, in this case, you won’t see the device in the menu.
Instead, you should select the computer’s inbuilt “Line In” and set this as the default playback device. This is the connector that the audio mixer is plugged into, so all of the audio will be played back through the mixer when using OBS.
Finally, open up the settings in OBS and select your computer’s inbuilt microphone as the default microphone/auxiliary audio device. This will allow you to use the audio mixer with OBS without requiring a USB connection.
Related Questions
Can OBS record separate audio tracks?
OBS is capable of recording a maximum of six individual audio tracks. The first track is commonly used to mix the rest of the audio sources when streaming, but when recording it can be used as another mic input.
Can you edit videos in OBS?
OBS is a great tool for recording and streaming audio and video content, but unfortunately, it cannot be used to edit the videos retrospectively. To do this, you’ll need to combine OBS with another video editing program like Adobe Premiere Pro. Personally, I use Sony Movie Studio for this. I’m currently using version 18 but any that your computer will run will work well.
How can I improve the sound quality of my OBS live stream?
The single most important thing you can do to improve the audio quality of your live streams in OBS is upgrading your microphone. The specs of the microphone will largely determine the clarity of your live-streamed audio.